Its a very straight forward process
Step 1 :- Open Terminal
Step 2 :- Write the following code
sudo apt-get install lamp-server^
After executing the command given above the installation of LAMP will start on your machine. In between You would be asked to confirm by pressing Y . Don't hesitate in doing so. At some point your terminal screen would look something like this
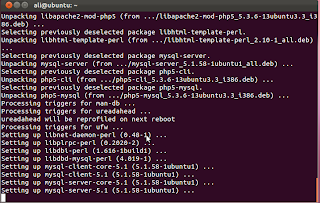
Step 3 :- The terminal will ask u to change the password of MySQL database management software. Change the password and remember it as you would be needing it every time you connect to the database from your php script.
Step 4 :- After installation Open your browser and add the following link in the address bar
http://localhost
You will see something like this
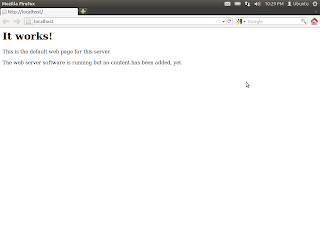
This step was to ensure that LAMP has been installed successfully. The file displayed is index.html and is stored in /var/www/. All the new webpages and scripts have to be placed in this folder.
Step 5 :- These were the basic tools necessary to install a website development environment but in order to better manage our database throught graphical interface we may install phpMyAdmin. This step in optional and the user may skip this step.
Write the following command in terminal
sudo apt-get install libapache2-mod-auth-mysql phpmyadmin
This will install phpMyAdmin and will open configuration windows as shown

Have the option apache selected and then press enter.There will be some activity in the terminal and then you will see something of the sort
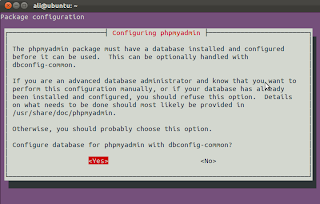
press enter and you will be prompted to enter the password of MySQL .
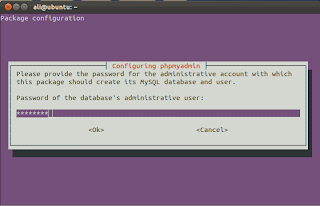
Enter the password which you entered while setting up LAMP, press
After that you will be asked to enter MySQL application password for phpmyadmin. I recommend using the same password as the previous one in order to avoid ambiguity.
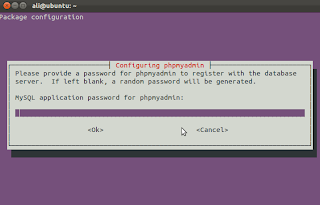
Confirm the password in the following box
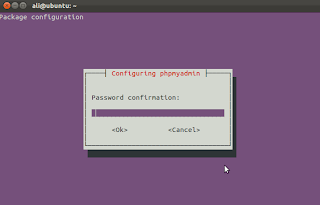
The phpmyadmin installation is now complete.
You can check the installation by opening the browser and entering the following address in the address bar
http://localhost/phpmyadmin/
You will see something like this
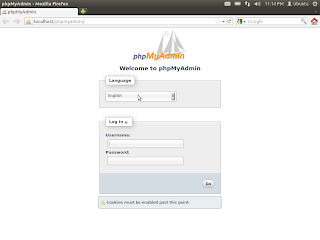
If you get an error of the form 404 "Not Found" then try the following codes
sudo ln -s /etc/phpmyadmin/apache.conf /etc/apache2/conf.d/phpmyadmin.conf
sudo /etc/init.d/apache2 reload
sudo /etc/init.d/apache2 reload
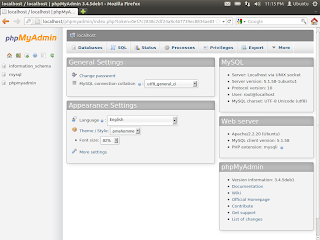
log in with username "root" and password which you assigned earlier.
No comments:
Post a Comment